The benefits of applying textures to injection molds are well known — they allow companies to curate the aesthetic of a product and avoid expensive post-processing operations. Designers can control how matte or shiny their molded part is and cover imperfections such as flow lines or sink marks left on the A-surfaces of the part.
Textures can also impart functional benefits such as improving grip and paint adhesion. Companies like Mold-Tech have books full of sample textures that make it easy for designers to flip through and choose a suitable finish. Many teams use standard set of textures to ensure a common design language throughout their product lines
Did you know that you can also texture your additive parts? Doing so provides many of the same benefits.
Improved surface finish
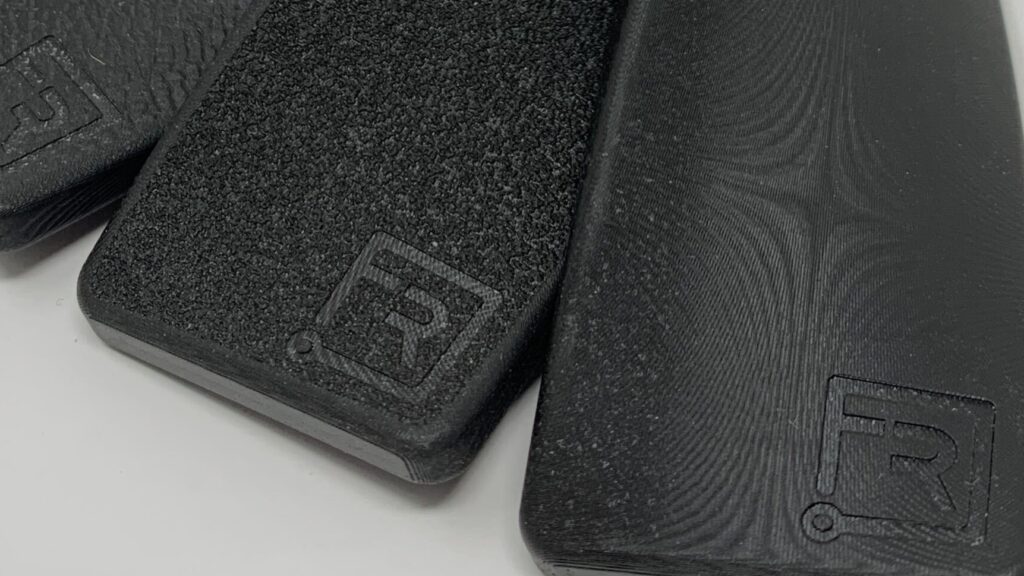
Parts produced using rigid plastics on Carbon DLS can be susceptible to a visual effect known as “aliasing”. While this does not impact part performance, it may be undesirable from an aesthetic perspective. Adding a light noise texture can remove this effect without dramatically altering the part’s aesthetic.

Functional benefits
As with injection molding, textures can be added to parts to achieve functional improvements. For example, we often use medium to coarse noise textures to add grip to handles or clamp interfaces.

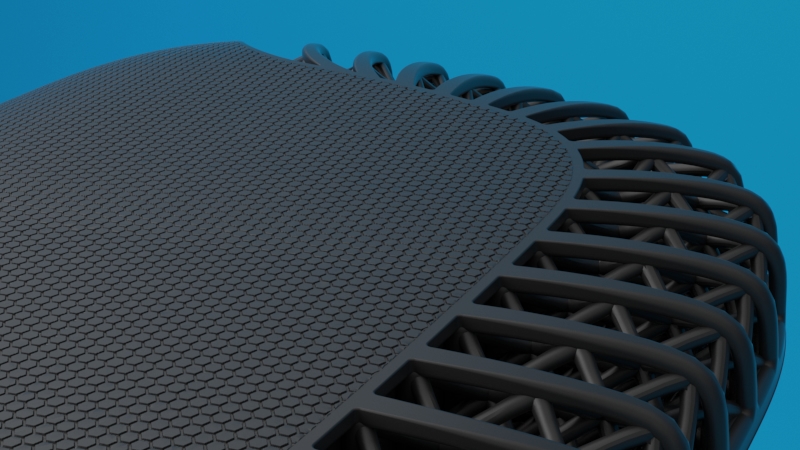
While injection molding employs expensive etching processes to create textures on physical molds, additive manufacturing makes use of digital design tools to apply textures to part files, making the process cheaper, faster, and more flexible. To simplify the process for designers, Fast Radius has developed a set of standard textures such as noise and leather.

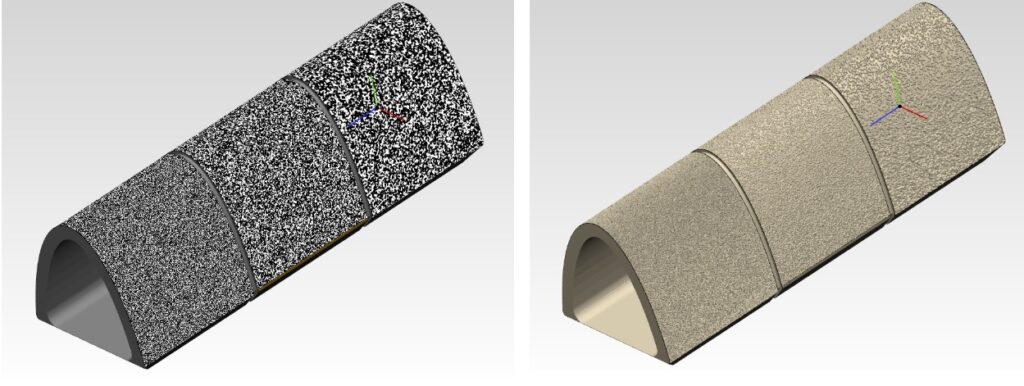
The beauty of additive manufacturing and digital design is that the possibilities are infinite. The process of texturing involves applying a 2D grayscale depth map to a part and offsetting the surface accordingly. In other words, if you can apply a depth map on the surface you desire, you can texture it! This new process enables customers to develop custom textures that would be either incredibly expensive or nearly impossible to create using traditional etching processes.
Cost-effective texturing

Another advantage of digital texturing is that it is inexpensive to iterate on both part designs and textures compared to molding. Instead of creating an expensive textured mold and having to machine and etch an entirely new one if the part is modified, we can simply reapply the texture to the updated design file. Similarly, it is easy to request samples of your part with different textures applied to hone in on the best one for your application.
Ready to incorporate texturing into your 3D printed parts? Download our Standard Texture Offerings or contact us to discuss your custom texturing needs.
